Ever looked at zone setup and seen the Temperature measurement section and wondered what is that and how does it work? Read on and all will become clear.
Here is how to find the Temperature Measurement section (*hint it’s in zone setup)
Step 1
Select a zone i.e. Living Room
Step 2
Click on the 3 dots …
Step 3
Click on Zone Setup
Step 4
Scroll down until you see the Temperature Measurement section
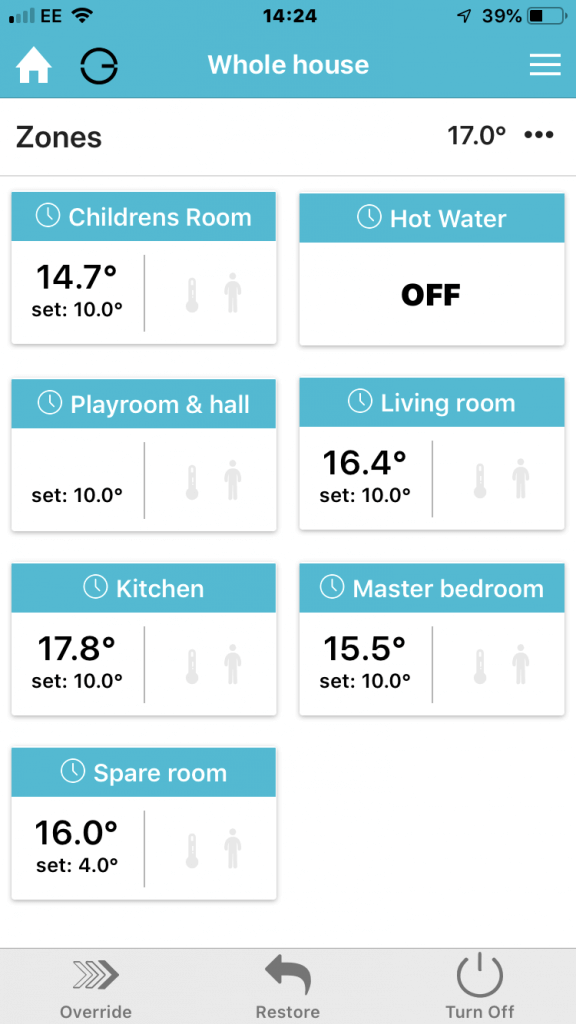
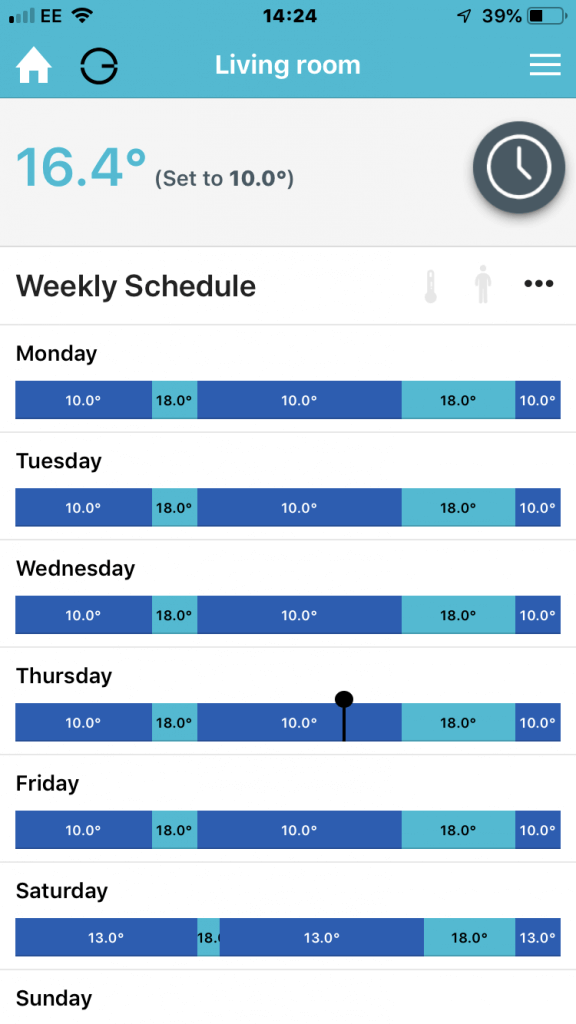
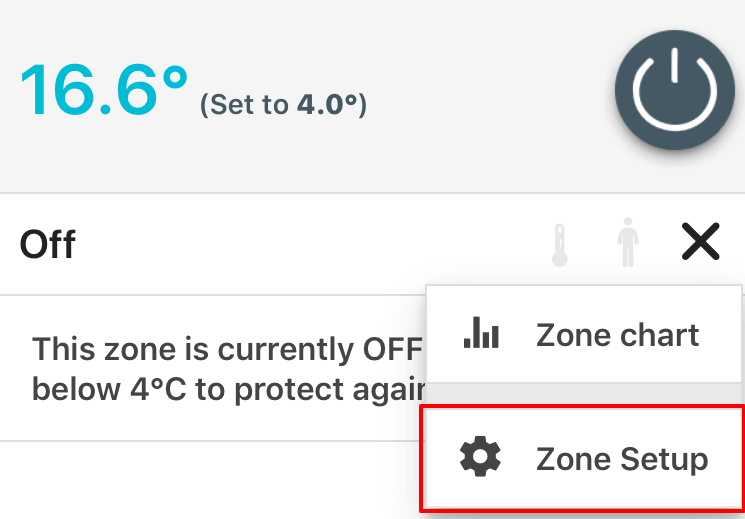
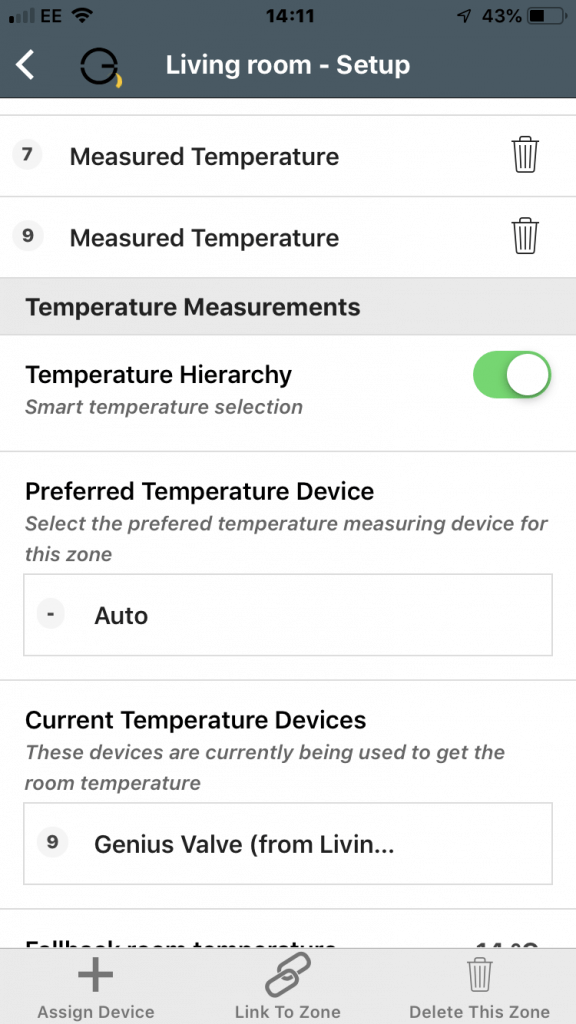
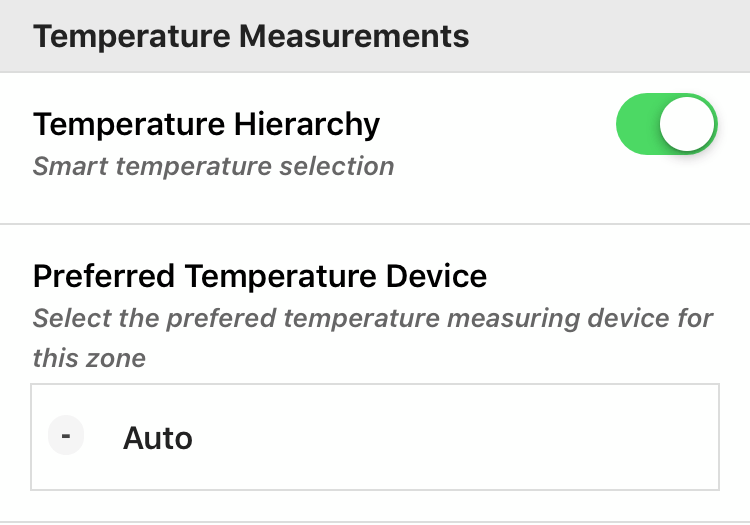
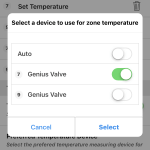
When temperature hierarchy is enabled (it is by default), it runs in Auto mode which means it will automatically select one of the temperature devices to use as the temperature source for the zone/room. It uses a hierarchy to decide which device to use as the master – Thermostat is at the top of the hierarchy (king of devices).
You can turn off auto and select the device you would like to be the temperature master. In the picture you can see we have selected Genius Valve no7.
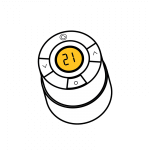
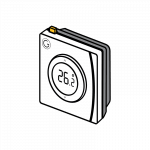
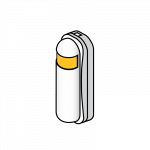
Why do you need a hierarchy of temperatures? A zone/room could have multiple devices that provide the room/zone temperature like smart valve, thermostat or room sensor.
Therefore, the Smart Hub needs to pick one and some devices are more likely to give an accurate reading of the rooms/zones temperature. For example although the smart valve has two temperature readings, one of the water and the other at the top of valve, it is still quite close to the heat source. Where as a thermostat is typically on a wall, perhaps near the door and therefore has a more realistic reading of the room/zones temperature.
If you want a more detailed explanation of Temperature Hierarchy then have a look at our support document


